Eddie Van Halen was one of the greatest guitar players of all time. His incredible skill combined with his iconic tone helped make Van Halen one of the most popular bands of the late ’70s, ’80s and ’90s. Many guitar players today try and achieve Eddie’s sound, but it’s a difficult task.
In this article I’ll take you through the guitars, amps and effects he used and guide you through the process of setting up your amplifier to get the closest tone possible with your current rig.
Just here for amp setting presets? Scroll down to get plenty of examples of amp settings to start with to try and nail the tone on the most popular Jimi Hendrix songs.
The Quick Guide
To sound like Eddie Van Halen you will ideally need a guitar with a humbucker bridge pickup and tremolo system. Use an amp with plenty of crunch and sustain such as an EVH or Marshall or use an overdrive pedal through a clean amp. Other important effects include phaser, flanger, reverb and delay.
If you are trying to achieve Van Halen’s tone, start with the following amp settings:
- Channel: distorted
- Gain: 7-8
- Bass: 5-6
- Mids: 4-5
- Treble: 6-7
Keep in mind that these are just designed to be used as a starting point and will likely need tweaking to suit your equipment.
I’ve created this article to guide you through the process of achieving the closest match to Van Halen’s tone in the easiest way possible, so I’ve split it into multiple main sections.
Contents:
- Rig Rundown
- Guitar and Amp Settings
- Common Problems (and how to fix them)
- More Tips
Eddie Van Halen’s Gear
First thing’s first, let’s take a look at the gear Van Halen used.
Don’t worry, you don’t need to go out and spend thousands to get all his equipment if you want to sound like him, however it’s good to get an understanding of the amps, guitars and effects he used so you can figure out what underpinned Eddie’s tone so you can achieve it more closely with your rig.
Guitars
Eddie’s own brand guitars “EVH” are the best place to look here if you want to emulate his tone.
The range has many different options you can choose from to suit your budget. If you want something more affordable, then take a look at the EVH Wolfgang Standard models. Alternatively, if you want the iconic look and tone and price is less of a factor for consideration, then the EVH Striped Series models are spot on.
You don’t need an EVH guitar though to sound more like Van Halen. However, there are a few elements your guitar should ideally have.
Most Important:
- Humbucker bridge pickup
- Floyd Rose (other tremolo systems are fine but less likely to stay in tune)
Less Important:
- 9 gauge strings and a 25.5″ scale
- Satin neck finish
- Relatively thin neck
- Double cutaway body
The scale length and string gauge will help keep the tone closer to Eddie’s, whilst the thin satin-finished neck will make playing faster a lot easier compared to a beefy, gloss-finished neck which you might find on something like a Les Paul. A double cutaway design is also useful to aid upper fret access.
EVH Striped Series Frankie

EVH Wolfgang Standard

Images link to Amazon
Amplifier
Again, EVH is a good brand to look at here! The EVH 5150 amplifiers have that characteristic British crunch with tonnes of sustain which is exactly what you’ll need. There are quite a few different head and combo options, however they all are reasonably expensive.
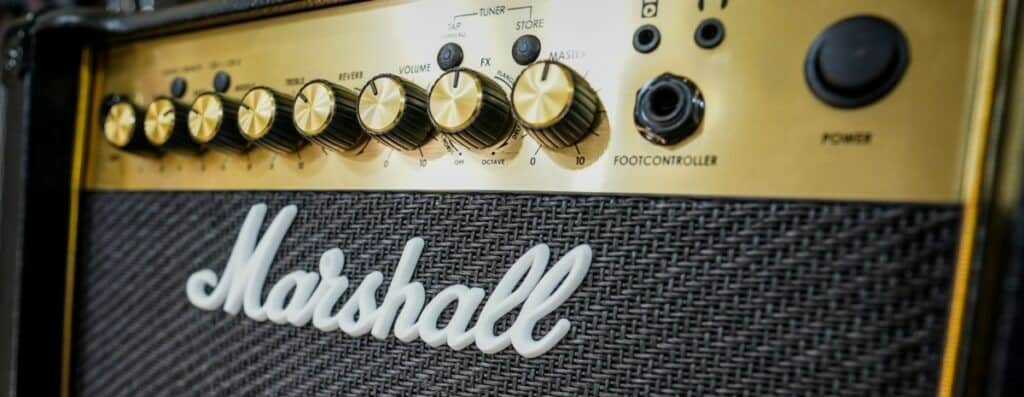
If you already have something like a Marshall, then you’ll probably get away with your current rig. However, if you find that the distortion on your amp doesn’t sound quite right, then a cheaper option is to use the MXR EVH 5150 Overdrive Pedal run through a clean amp to achieve a similar tone to a cranked 5150 amp.
EVH 5150 III 50W Tube Amp

MXR EVH 5150 Overdrive Pedal

Images link to Amazon
Effects
You’ll need quite a few effects if you really want to dial in the Eddie Van Halen tone. He used plenty of modulation effects as well as other effects such as delay which you may find built-in to your amplifier, or you may need to get some pedals.
Here are the most important effects needed to sound like Van Halen:
- Phaser e.g. MXR Phase 90
- Flanger e.g. MXR EVH117 Flanger
- Delay e.g. Dunlop Echoplex Delay
Not every Van Halen song used all these effects, but there are some songs where they’re pretty much essential if you want to get the tone spot on. In the next section we’ll look at specific songs and which effects are the most important.
MXR Phase 90

MXR EVH117 Flanger

Dunlop Echoplex Delay

Images link to Amazon
If you really want to improve your guitar playing then I recommend checking out Guitareo. You can sign up for a free 30-day trial here to get access to all the online lessons and start making real progress today
Guitar and Amp Settings
Even if you have all the gear, if you don’t use the right settings then you’ll sound nothing like Van Halen. Likewise, if you don’t have Eddie’s exact rig, you can still get a close match with your tone by dialling in the right settings, so this next section is really important.
Guitar Settings
In most songs you’ll need to use the bridge pickup. This will allow you to maintain clarity and bite whilst using high levels of distortion. I also recommend keeping your tone and volume controls on full to avoid losing high-end frequencies. If you need to turn up the volume, ideally you should use a clean boost pedal as this is the easiest method I’ve found to altering the volume without affecting the tone too much.
Amplifier Settings
It’s very difficult to give precise amp settings to sound like Van Halen because it really depends on what equipment you’re using and you should always be prepared to make tweaks. With that said, here is my advice to get a good starting point with your tone. Don’t worry if it doesn’t sound spot on because I’ll go through common problems and fixes later in the article.
There are 5 main settings to consider here.
- Channel: most amps have at least two channels (clean and distorted). Unless you are using an overdrive pedal, then make sure you’re using the distorted channel to get the most gain.
- Gain: it’s best to start with your gain on 7-8 to begin with. This will help prevent muddiness but also give you plenty of sustain and crunch to play with.
- Bass: start with this on 5 to begin with to give you plenty of depth but without it sounding too muddy.
- Mids: start with this on 4 to begin with. This means the mids are relatively scooped. If you have a Fender amp or something with scooped mids already, then turn this up a bit higher.
- Treble: start with this on 6 to begin with. It should allow you to maintain clarity without it sounding too harsh.
Some amps have additional controls so make sure you also check out the brand-specific amp controls guide which is relevant to you, in order to fully understand all the settings and so you can get the most from your rig:
- Fender Amp Settings
- Marshall Amp Settings
- Boss Amp Settings
- Orange Amp Settings
- Line 6 Amp Settings
- Vox Amp Settings
To give you a bit more information, let’s look at some amp settings for specific Van Halen songs. Again, these are just to be used as a starting point and you should be prepared to make some adjustments.
Eruption Amp Settings
- Gain: 7
- Bass: 4
- Mids: 6
- Treble: 7
- Reverb: 5
- Effects: phaser and delay
Ain’t Talkin’ Bout Love Amp Settings
- Gain: 8
- Bass: 6
- Mids: 4
- Treble: 6
- Reverb: 5
- Effects: flanger, phaser and delay
Panama Amp Settings
- Gain: 7
- Bass: 5
- Mids: 3
- Treble: 6
- Reverb: 5
- Effects: phaser and delay
You Really Got Me Amp Settings
- Gain: 8
- Bass: 7
- Mids: 5
- Treble: 5
- Reverb: 3
- Effects: phaser
Unchained Amp Settings
- Gain: 7
- Bass: 6
- Mids: 6
- Treble: 5
- Reverb: 3
- Effects: flanger
Check out this article with amp settings for over 40 popular rock songs if you are looking for more inspiration.
Common Problems and Fixes
It’s likely that you’ll need to make some tweaks to get your tone spot on if you’ve just plugged in the example amp settings provided above.
In this section I’ll list some common problems along with multiple suggestions to fix them. Don’t make all the adjustments straight away, instead tweak one setting slightly and listen for the difference, and if necessary, move onto the next fix. They’re all listed in order of priority so this is the most efficient way to work through them.
Muddy Tone
- Decrease the bass
- Decrease the gain
- Increase the treble
Check out my guide on how to fix a muddy amp for more causes and fixes.
Not Enough Sustain
- Increase the gain
- Increase the bass
- Increase the mids
- Use a compressor pedal
Tone Sounds Weak Instead of Punchy
- Increase the mids
- Increase the gain
- Increase the bass
- Use a distortion pedal
Tone Sounds Too Harsh and Bright
- Switch to the neck pickup if you are using the bridge or middle
- Decrease the treble
- Increase the bass
Too Much Feedback
- Decrease the gain
- Move the guitar and amp as far away from each other as possible
- Position the amp in front of the guitar rather than behind it
- Use a noise-gate pedal to reduce feedback